尽管可以利用闲置安卓手机加 IFTTT 实现接收短信并转发至 Telegram 的操作,但是还是没有自己制作的更让自己满意,毕竟自己的一些奇思妙想是其无法直接实现的。
使用的设备
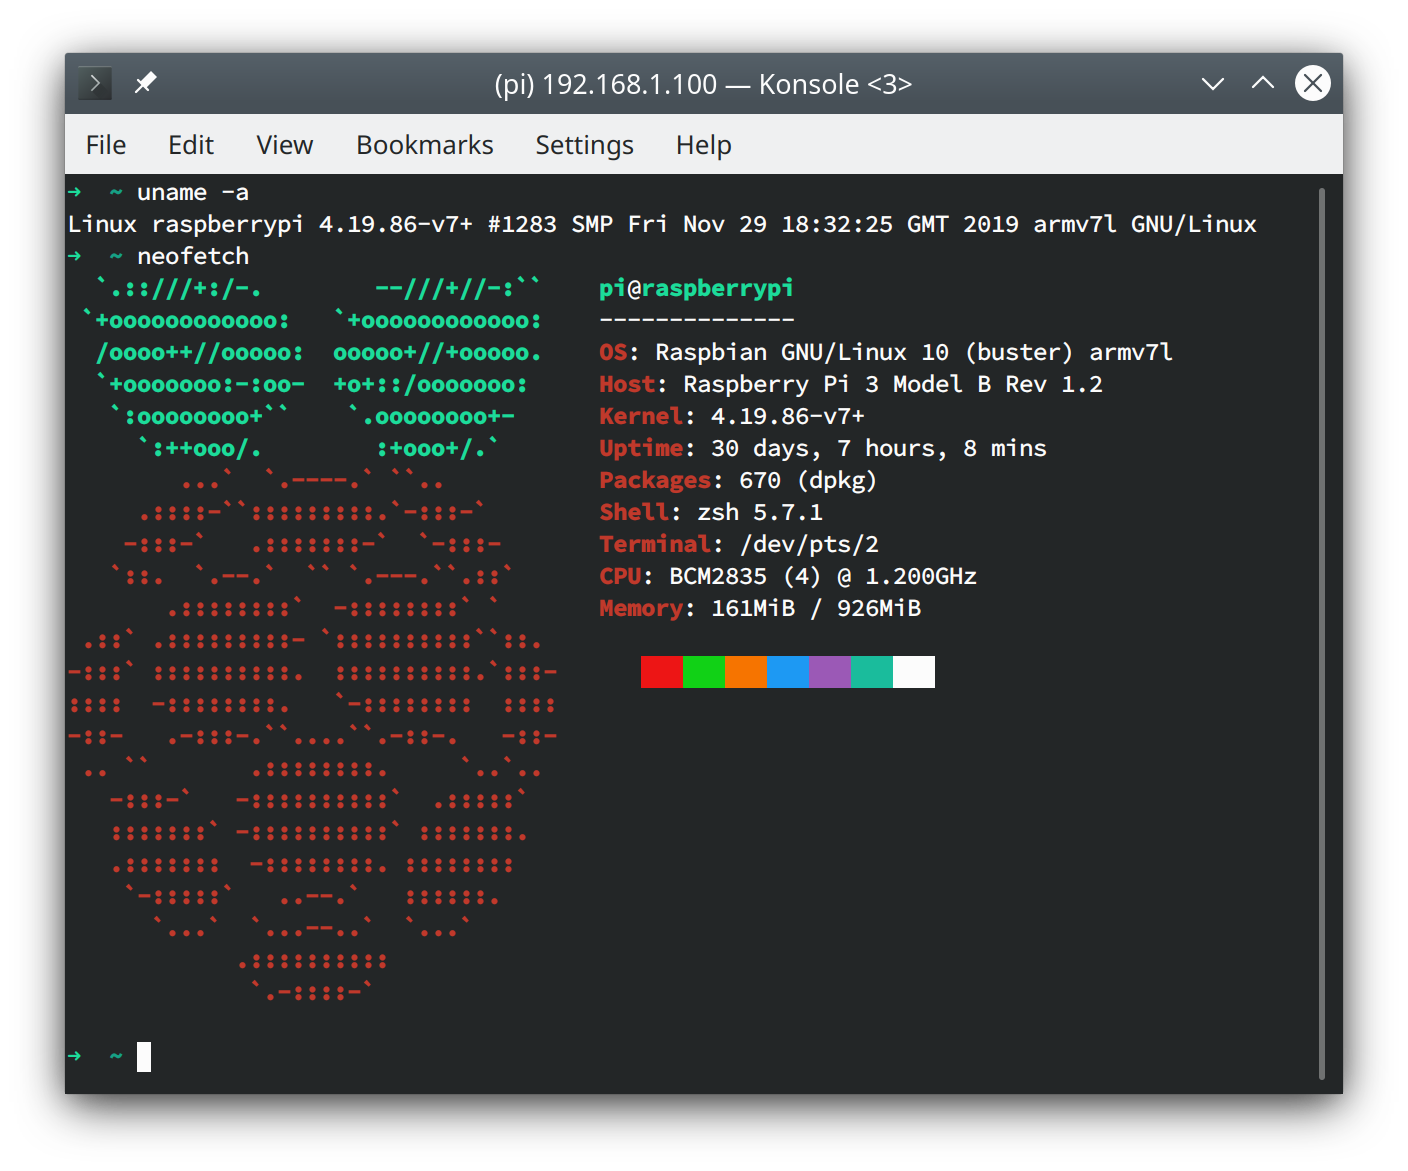
Raspberry 3B+
Air720H (理论上同样支持其他模块)
树莓派是白嫖 Peter 的 ヽ(‘ ∇‘ )ノ
使用的程序
NodeJS (可以替换为一切语言,甚至仅使用 bash 脚本也是可行的)
Yarn
Gammu
树莓派的系统版本为 Raspbian
使用的接口
Telegram Bot
腾讯云短信接口 (可移除,或替换为其他平台)
准备过程
首先将模块与树莓派连接好之后,lsusb 就会看到相应的设备了因为我是用 USB2TTL 来进行连接,所以此处看到的设备为
1 Bus 001 Device 038: ID 1a86:7523 QinHeng Electronics HL-340 USB-Serial adapter
接下来,在 /dev 目录下找到对应的 ttyUSB
因为我只插了这一个 USB 设备,所以很容易确定对应的地址为 /dev/ttyUSB0
从此处开始,以 root 身份进行操作
安装与配置 Gammu
从此处开始,以 root 身份进行操作
接下来,开始安装 Gammu
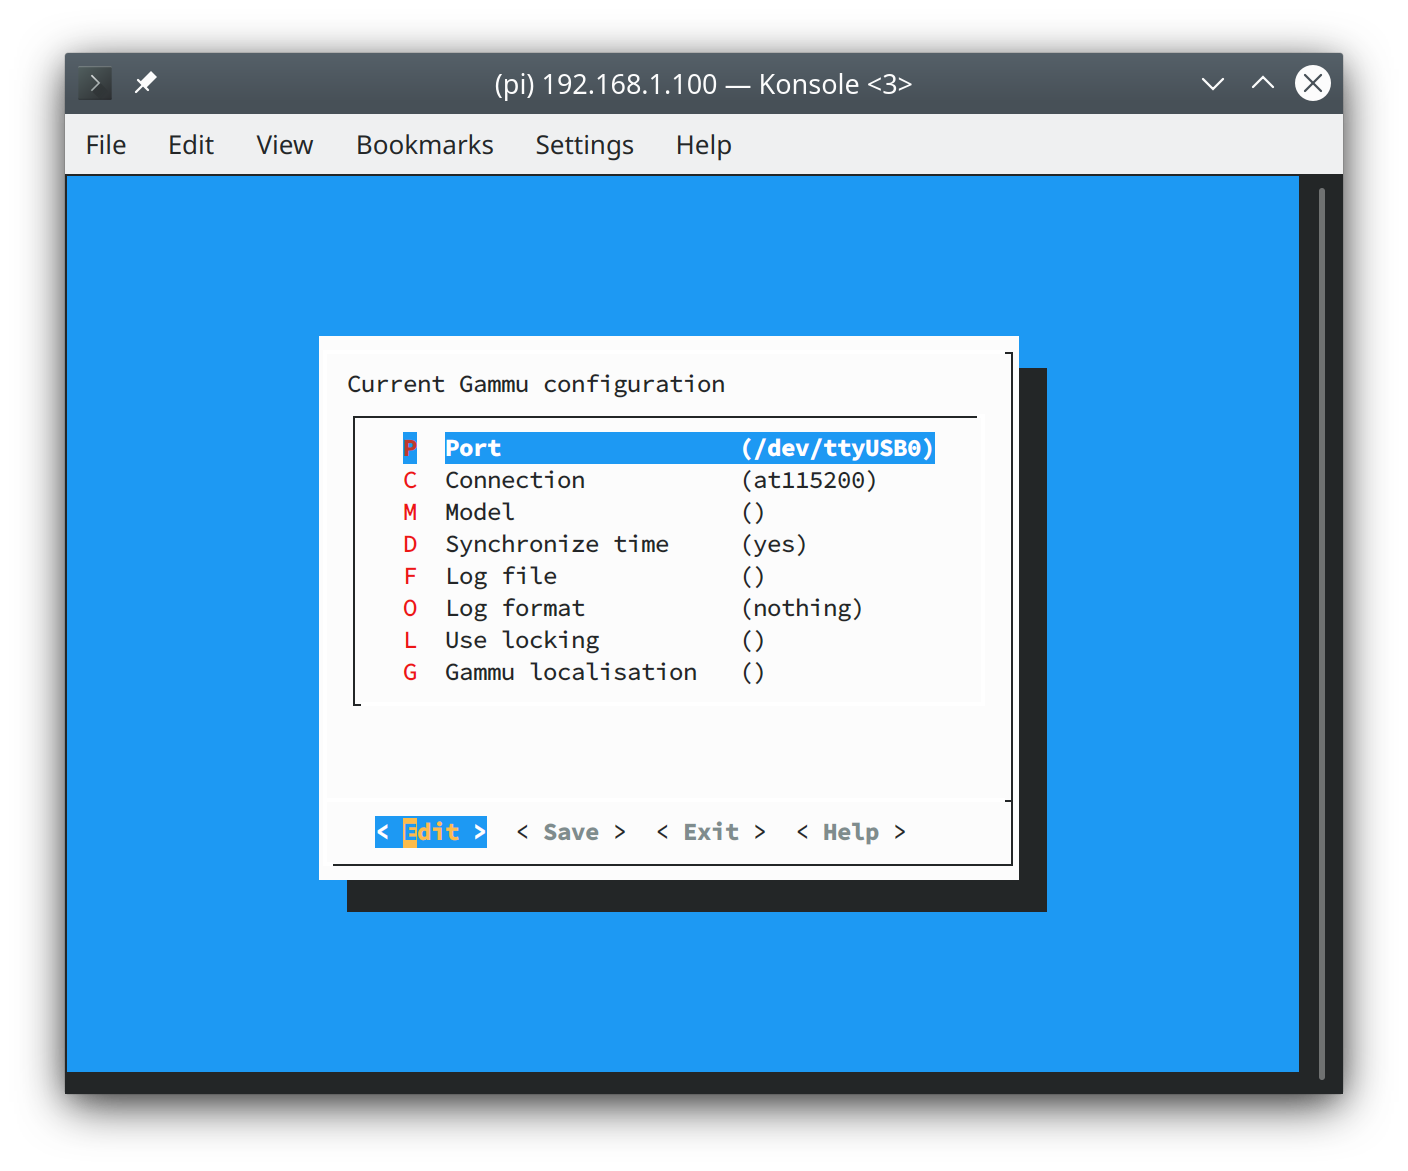
使用 gammu-config 来进行配置
根据设备的不同配置可能会略有不同
将 Port 修改为 /dev/ttyUSB0Connection 修改为 at115200
现在,我们来验证配置是否成功
1
2
3
4
5
6
7
8
gammu --identify"AirM2M" "AirM2M_720H_V1381_LTE_AT"
接下来,测试发送短信
1
2
3
4
echo "test" | gammu sendsms TEXT 手机号break , press Ctrl+C...for network answer..OK, message reference=44
如果没问题的话,你应该会顺利收到自己发出的短信了
安装 NodeJS (可选)
1
2
3
4
5
6
curl -sL https://deb.nodesource.com/setup_16.x | sudo -E bash -echo "deb https://dl.yarnpkg.com/debian/ stable main" | sudo tee /etc/apt/sources.list.d/yarn.list
安装与配置 Gammu-smsd
安装 gammu-smsd
1 apt-get install gammu-smsd -y
启动并设置开机启动
1
2
systemctl start gammu-smsdenable gammu-smsd
编辑 /etc/gammu-smsdrc 文件
其中部分内容需要根据个人情况进行修改
1
2
3
4
5
6
7
8
9
10
11
12
13
14
15
16
17
18
19
20
21
22
23
[gammu]
接下来,在 /root/gammu 下创建 package.json
这部分可以替换为下面 bash 方案的内容
1 2 3 4 5 6 7 8 9 10 11 {"name" : "gammu-telegram" ,"version" : "1.0.0" ,"main" : "index.js" ,"license" : "MIT" ,"dependencies" : {"axios" : "^0.25.0" ,"qcloudsms_js" : "^0.1.1" ,"socks-proxy-agent" : "^4.0.1"
创建并编辑 index.js 文件
其中部分内容需要根据个人情况进行修改
1
2
3
4
5
6
7
8
9
10
11
12
13
14
15
16
17
18
19
20
21
22
23
24
25
26
#!/usr/bin/node const fs = require ('fs' )const path = require ('path' )const axios = require ('axios' )const SocksProxyAgent = require ('socks-proxy-agent' )const botToken = "*****[REPLACE×THIS×PART]*****" const chatId = *****[REPLACE×THIS×PART]*****const proxyOptions = 'socks5://127.0.0.1:1080' const httpsAgent = new SocksProxyAgent(proxyOptions)const client = axios.create({ baseURL : `https://api.telegram.org/bot${botToken} ` , httpsAgent})const {SMS_1_NUMBER} = process.envlet smsData = '' 2 ).forEach(element =>`/var/spool/gammu/inbox/${element} ` ,{encoding :'utf8' , flag :'r' }))async function main (await client.post('/sendMessage' , {chat_id : chatId,text : "Phone Number: " + SMS_1_NUMBER + "\n" + "Tag: #sms\nData: " + smsData + "" ,parse_mode : 'Markdown' err =>console .log(err))
创建并编辑 call.js 文件
其中部分内容需要根据个人情况进行修改
1
2
3
4
5
6
7
8
9
10
11
12
13
14
15
16
17
18
19
20
21
22
23
24
25
26
27
28
29
30
31
32
33
34
35
36
37
38
39
40
41
42
#!/usr/bin/node var QcloudSms = require ("qcloudsms_js" );const fs = require ('fs' )const path = require ('path' )const axios = require ('axios' )const SocksProxyAgent = require ('socks-proxy-agent' )const botToken = "*****[REPLACE×THIS×PART]*****" const chatId = *****[REPLACE×THIS×PART]*****const proxyOptions = 'socks5://127.0.0.1:1080' const httpsAgent = new SocksProxyAgent(proxyOptions)const client = axios.create({ baseURL : `https://api.telegram.org/bot${botToken} ` , httpsAgent})const INCOMING_NUMBER = process.argv.slice()[2 ];var appid = *****[REPLACE×THIS×PART]*****;var appkey = "*****[REPLACE×THIS×PART]*****" ;var templateId = *****[REPLACE×THIS×PART]*****;var smsSign = "*****[REPLACE×THIS×PART]*****" ;var qcloudsms = QcloudSms(appid, appkey);var ssender = qcloudsms.SmsSingleSender();var params = [];async function main (await client.post('/sendMessage' , {chat_id : chatId,text : "Phone Number: `" + INCOMING_NUMBER + "`\n" + "Tag: #call" ,parse_mode : 'Markdown' "86" , INCOMING_NUMBER, templateId,"" , "" , callback);function callback (err, res, resData ) if (err) {'/sendMessage' , {chat_id : chatId,text : "Err: `" + err + "`\n" + "Tag: #error" ,parse_mode : 'Markdown' err =>console .log(err))
接下来,安装 dependence
1
2
3
4
yarn install
然后收到短信时,自动将短信转发至 Telegram。来电时,挂断电话,将来电人信息转发至 Telegram,并通过短信接口给来电者返回短信通知。
bash 方案
这是我目前在使用的方案,相较 NodeJS 的玩法算是更加的轻量化了。不再需要安装 NodeJS, 操作方式如下。
创建并编辑 /usr/local/bin/sms2tg-sms 文件
其中部分内容需要根据个人情况进行修改
1
2
3
4
5
6
7
8
9
10
11
12
13
14
15
16
17
18
19
#!/bin/bash set -e"*****[REPLACE×THIS×PART]*****" "*****[REPLACE×THIS×PART]*****" if [ -z "$SMS_MESSAGES " ]; then exit 1fi "$SMS_1_NUMBER " for i in `seq $SMS_MESSAGES ` ; do eval "SMS_TEXT=\"\${SMS_TEXT}\${SMS_${i} _TEXT}\"" done "#SMS" $'\n' "From: ${SMS_NUMBER} " $'\n' "${SMS_TEXT} " "https://api.telegram.org/bot${BOT_TOKEN} /sendMessage" chat_id="$CHAT_ID " text="$TEXT " parse_mode=Markdown 0</dev/null
创建并编辑 /usr/local/bin/sms2tg-call 文件
其中部分内容需要根据个人情况进行修改
1
2
3
4
5
6
7
8
9
10
11
12
#!/bin/bash set -e"*****[REPLACE×THIS×PART]*****" "*****[REPLACE×THIS×PART]*****" "$1 " "#Call" $'\n' "From: ${SMS_NUMBER} " "https://api.telegram.org/bot${BOT_TOKEN} /sendMessage" chat_id="$CHAT_ID " text="$TEXT " parse_mode=Markdown 0</dev/null
接下来,修改 /etc/gammu-smsdrc 文件如下
1
2
3
4
5
6
7
8
9
10
11
12
13
14
15
16
17
18
19
20
21
22
23
24
25
# Configuration file for Gammu SMS Daemon
最后,执行 chmod +x /usr/local/bin/sms2tg-{sms,call} 即可
如果您有更棒的方案,欢迎留言告诉我~
原本的执行方式(过时)
因为 Python 2 已经于 2020年1月1日寿命已经终结,所以此部分理论上已经过时
感谢 @Peter 提供技术支持
使用的程序
安装必要模块
1
2
pip install python-gsmmodem-newinstall qcloudsms_py
修改 Python package
因为这个包已经很久不更新,而且在 Python 3 下运行存在问题,所以我们需要做一些修改
/usr/local/lib/python2.7/dist-packages/gsmmodem
修改 modem.py 文件的以下部分,当然我也在下方提供了修改后的版本,替换即可
57 行
1
2
3
4
5
6
def __init__(self , gsmModem , status , number , time , text , smsc =None, udh =[]) :__init__(number , text , smsc )
132 行
1 CLIP_REGEX = re.compile('^\+ CLIP:\s *\+ {0,1}(\d +),\s *(\d +).*$')
1117 行
1 messages.append(ReceivedSms(self , Sms.TEXT_MODE_STATUS_MAP[msgStatus ], number , parseTextModeTimeStr (msgTime ) , msgText))
1127 行
1 messages.append(ReceivedSms(self , Sms.TEXT_MODE_STATUS_MAP[msgStatus ], number , parseTextModeTimeStr (msgTime ) , msgText))
1151 行
1 sms = ReceivedSms(self, int(msgStat), smsDict['number' ] , smsDict['time' ] , smsDict['text' ] , smsDict['smsc' ] , smsDict.get ('udh' , [] ))
1245 行
1 lines.pop (0 ) # Workaround for failing to get phone number
1266 行
1 callerNumber = clipMatch.group(1 )
1384 行
1 self.smsStatusReportCallback(report )
1403 行
1
2
3
else :Nothing is waiting for this report directly - use callback
修改后的文件 下载链接
Python 文件部分
将下方内容写入 sms.py
收到短信时,自动将短信转发至 Telegram。来电时,挂断电话,将来电人信息转发至 Telegram,并通过短信接口给来电者返回短信通知。
此处使用的短信接口为腾讯云,可替换为其他提供商。
请自行替换其中的数据部分
1
2
3
4
5
6
7
8
9
10
11
12
13
14
15
16
17
18
19
20
21
22
23
24
25
26
27
28
29
30
31
32
33
34
35
36
37
38
39
40
41
42
43
44
45
46
47
48
49
50
51
52
53
54
55
56
57
58
59
60
61
62
63
64
65
66
from gsmmodem.exceptions import InterruptedException import logging import telegram import timefrom qcloudsms_py import SmsSingleSenderfrom qcloudsms_py.httpclient import HTTPError'*****[REPLACE×THIS×PART]*****' , base_url='https://api.telegram.org/bot' )"*****[REPLACE×THIS×PART]*****" 0 '/dev/ttyUSB0' 115200 None from gsmmodem.modem import GsmModemdef handleSms (sms ):b'== SMS message received ==\nFrom: {0}\nTime: {1}\nMessage:\n{2}\n' .format (sms.number, sms.time, sms.text.encode('utf-8' )))"*****[REPLACE×THIS×PART]*****" , b'{0}\n\nFrom {1}\n' .format (sms.text.encode('utf-8' ), sms.number, sms.time))def handleIncomingCall (call ):b'Incoming call from {0}' .format (call.number))"*****[REPLACE×THIS×PART]*****" , b'Incoming call from {0}' .format (call.number))"*****[REPLACE×THIS×PART]*****" 0 try :86 , phone_number,"" , ext="" ) except HTTPError as e:print (e)"*****[REPLACE×THIS×PART]*****" , b'Error {0}' .format (e))except Exception as e:"*****[REPLACE×THIS×PART]*****" , b'Error {0}' .format (e))print (result)def main ():format ='%(levelname)s: %(message)s' , level=logging.DEBUG)'Initializing modem...' )False for sms in allSms:'Waiting for SMS message...' )try :2 **31 ) finally :if __name__ == '__main__' :
接下来,运行 sms.py 即可
参考链接

